Importing GitHub Repositories to Trovi: A Step-by-Step Guide
Streamline Your Research Workflow with Trovi's New GitHub Integration
- April 21, 2025 by
- Mark Powers
Importing GitHub Repositories to Trovi: A Step-by-Step Guide
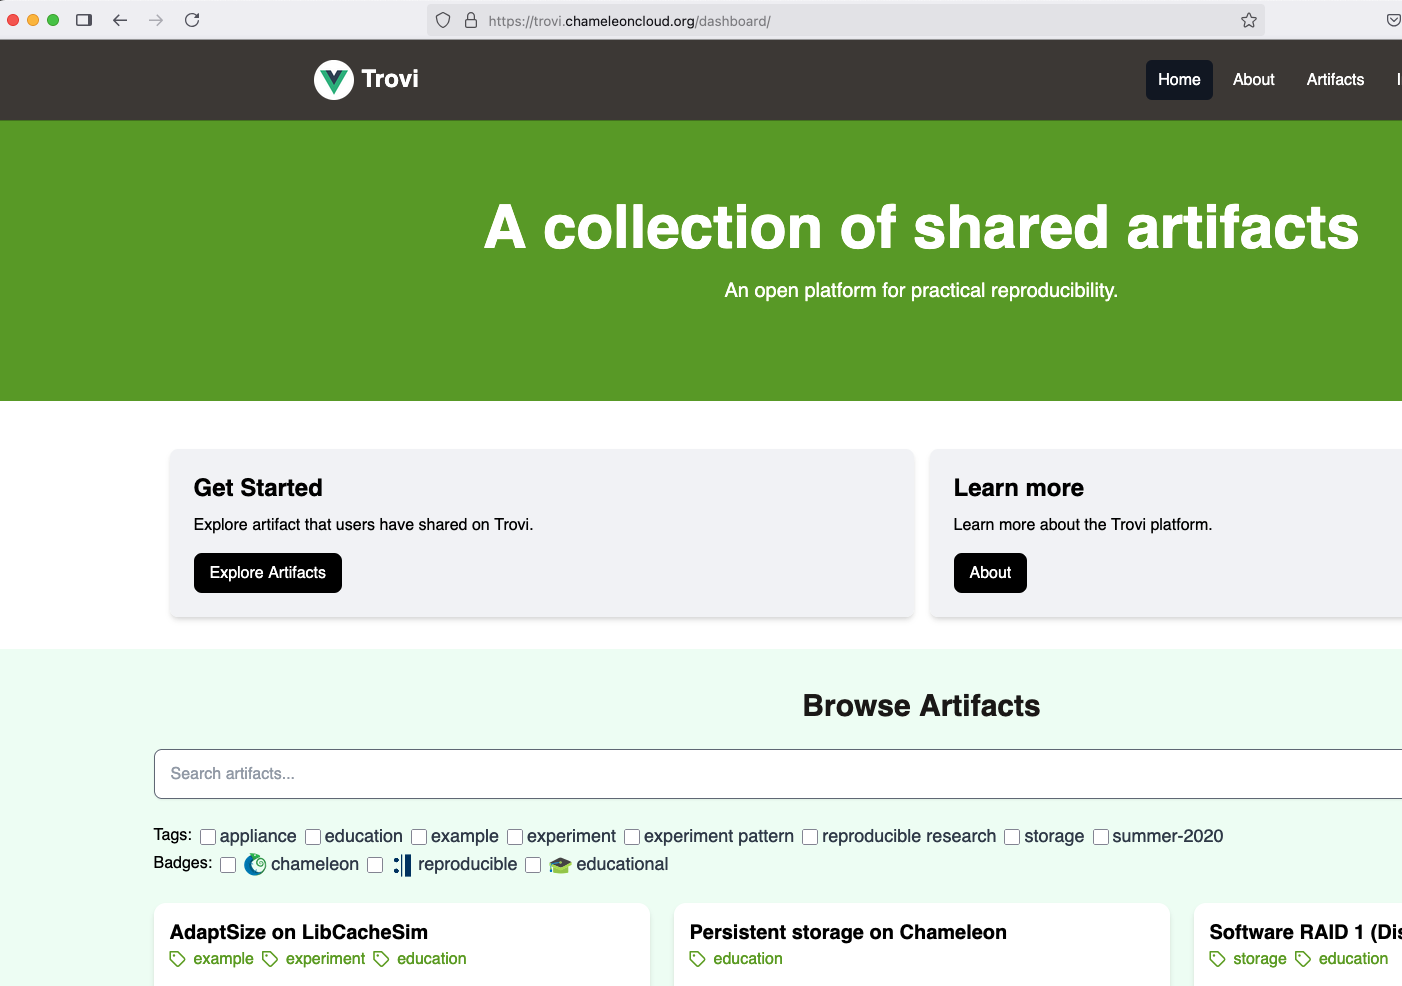
What is Trovi?
Reproducibility is a major challenge in computer science research. While various software tools help package programs for reproduction on different machines, these solutions often fall short when dealing with bare metal experiments or complex topologies. That's why we developed Trovi — an open-source service for packaging and sharing reproducible artifacts designed for testbeds.
Trovi serves as a flexible, standards-based service that can be adapted for various testbeds, not simply a Chameleon-specific repository. Currently, Chameleon users have shared over 200 artifacts publicly on Trovi. These artifacts serve diverse purposes, from educational modules to reproducible storage research, and experiment patterns that showcase testbed capabilities. When used with Chameleon, Trovi integrates seamlessly with the platform, enabling you to "launch" artifacts into a JupyterLab environment that automatically authenticates you and comes pre-equipped with commonly used libraries.
Recent Improvements to Trovi
Based on your feedback, we've been continuously enhancing the Trovi experience. Last fall, we introduced a preview of the new Trovi dashboard, which improved user experience by making artifact searching and browsing faster and more intuitive.
Last month, we announced important updates specifically for artifact authors on the ability to create and edit artifacts directly in the dashboard. Today, we're excited to share more details about our latest enhancement: seamless GitHub integration.
GitHub Integration with Trovi
When we surveyed our users, we discovered that over 90% were already using GitHub to share their experiments. Previously, while you could import artifact contents via git, you still had to manually configure the artifact's metadata. Our new first-class GitHub import changes that — now you can configure your GitHub repo with a metadata file for your artifact that includes details like title, description, and authorship.
Updating artifacts is now much simpler, too. Authors can make changes to their GitHub repository as normal, then click "Import" to create a new version in Trovi. This integration leverages GitHub's collaboration and sharing tools, addressing the challenge of multiple people working on an artifact simultaneously.
The Power of RO-Crate
The metadata file we use follows the RO-crate specification. This format allows for detailed descriptions of a package, ensuring that future users can fully understand how it was created and how it should be used. Our adoption of this widely-used standard underscores Trovi's design as a portable, interoperable service rather than a platform-specific tool. RO-crate offers several advantages:
- It's supported by a large community of users who have developed specialized tools
- It's highly extendable, allowing support for different experimental environments and metrics in the future
- It helps make artifacts align with FAIR principles (Findable, Accessible, Interoperable, and Reusable)
By keeping this metadata file closer to the artifact contents, authors can more easily adhere to these FAIR principles in their work, regardless of which testbed platform they ultimately use.
How to Import an Artifact from GitHub: A Step-by-Step Guide
Now that you understand the benefits of our GitHub integration, let's walk through the process of importing your GitHub repository as a Trovi artifact:
1. Creating your GitHub Repository
If you already have a public GitHub repository with your artifact files, you can skip to step 2.
Otherwise, login to GitHub and go to the new repository page. Follow the instructions to set up a new repository, making sure it's set to public.
Next, you'll see instructions for the command line. First, create a new directory for your artifact and navigate to it:
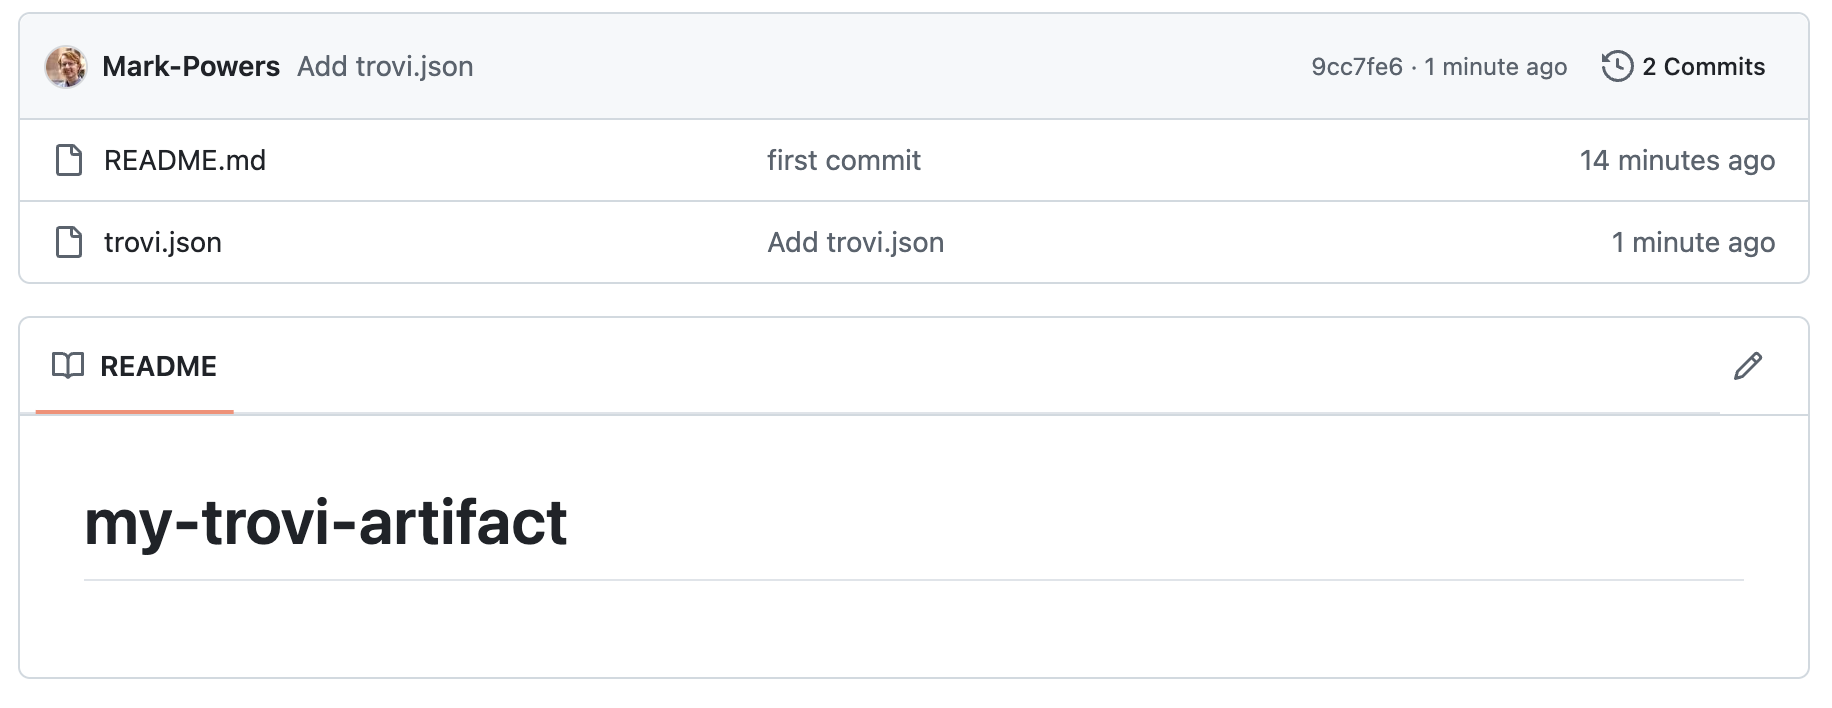
mkdir my-trovi-artifact
cd my-trovi-artifact
Then copy and paste the repository instructions from GitHub into your command line.

After executing these commands, you should see output similar to:
Initialized empty Git repository in /Users/mark/my-trovi-artifact/.git/
[main (root-commit) d8f7364] first commit
 1 file changed, 1 insertion(+)
 create mode 100644 README.md
Enumerating objects: 3, done.
Counting objects: 100% (3/3), done.
Writing objects: 100% (3/3), 237 bytes | 237.00 KiB/s, done.
Total 3 (delta 0), reused 0 (delta 0), pack-reused 0
To github.com:Mark-Powers/my-trovi-artifact.git
 * [new branch]      main -> main
branch 'main' set up to track 'origin/main'.
If you refresh GitHub, you'll see a single file, README.md.
2. Generating Your Metadata File
For this step, you'll need Python and pip installed. Run the following command to install the Trovi command line client:
pip install git+https://github.com/ChameleonCloud/troviclient.git
You can verify the installation by running trovi artifact generate -h, which will display the available options:
$ trovi artifact generate -h
Usage: trovi artifact generate [OPTIONS]

Options:
  --name TEXT                     The name of the artifact  [required]
  --short-description TEXT        Short one-line description of the artifact.
                                  [required]
  --description TEXT              Long explanation of artifact.  [required]
  --tag TEXT                      Relevant tags. See `trovi tag list`. Can be
                                  included multiple times.  [required]
  --environment_type [chameleon_jupyterlab]
                                  Type of experiment environment this artifact
                                  runs in.
  --author TEXT                   Author information formatted as
                                  'name:institution'. Can be included multiple
                                  times.  [required]
  --output_file TEXT              File to save metadata to. Defaults to
                                  `trovi.json`
  -h, --help                      Show this message and exit.
To view all allowed values for the --tag option, run trovi tag list.
Now, run trovi artifact generate with your artifact's details. Here's an example (split across multiple lines for clarity):
trovi artifact generate \
  --name "Mark's Trovi Artifact" \
  --short-description "A demonstration artifact." \
  --description "This Trovi artifact is for demonstrating how to import from GitHub for the Chameleon blog." \
  --author "Mark Powers:markpowers@uchicago.edu:University of Chicago" \
  --tag example
3. Uploading Your Metadata File to GitHub
After generating the metadata file, you'll need to add it to your GitHub repository. Check the status with git status to confirm that a new file named trovi.json has been created:
$ git status
On branch main
Your branch is up to date with 'origin/main'.

Untracked files:
  (use "git add <file>..." to include in what will be committed)
	trovi.json

nothing added to commit but untracked files present (use "git add" to track)
</file>
Add, commit, and push the file to GitHub:
git add trovi.json
git commit -m "Add trovi.json"
git push
When you refresh your GitHub repository, you should see trovi.json in the file list.
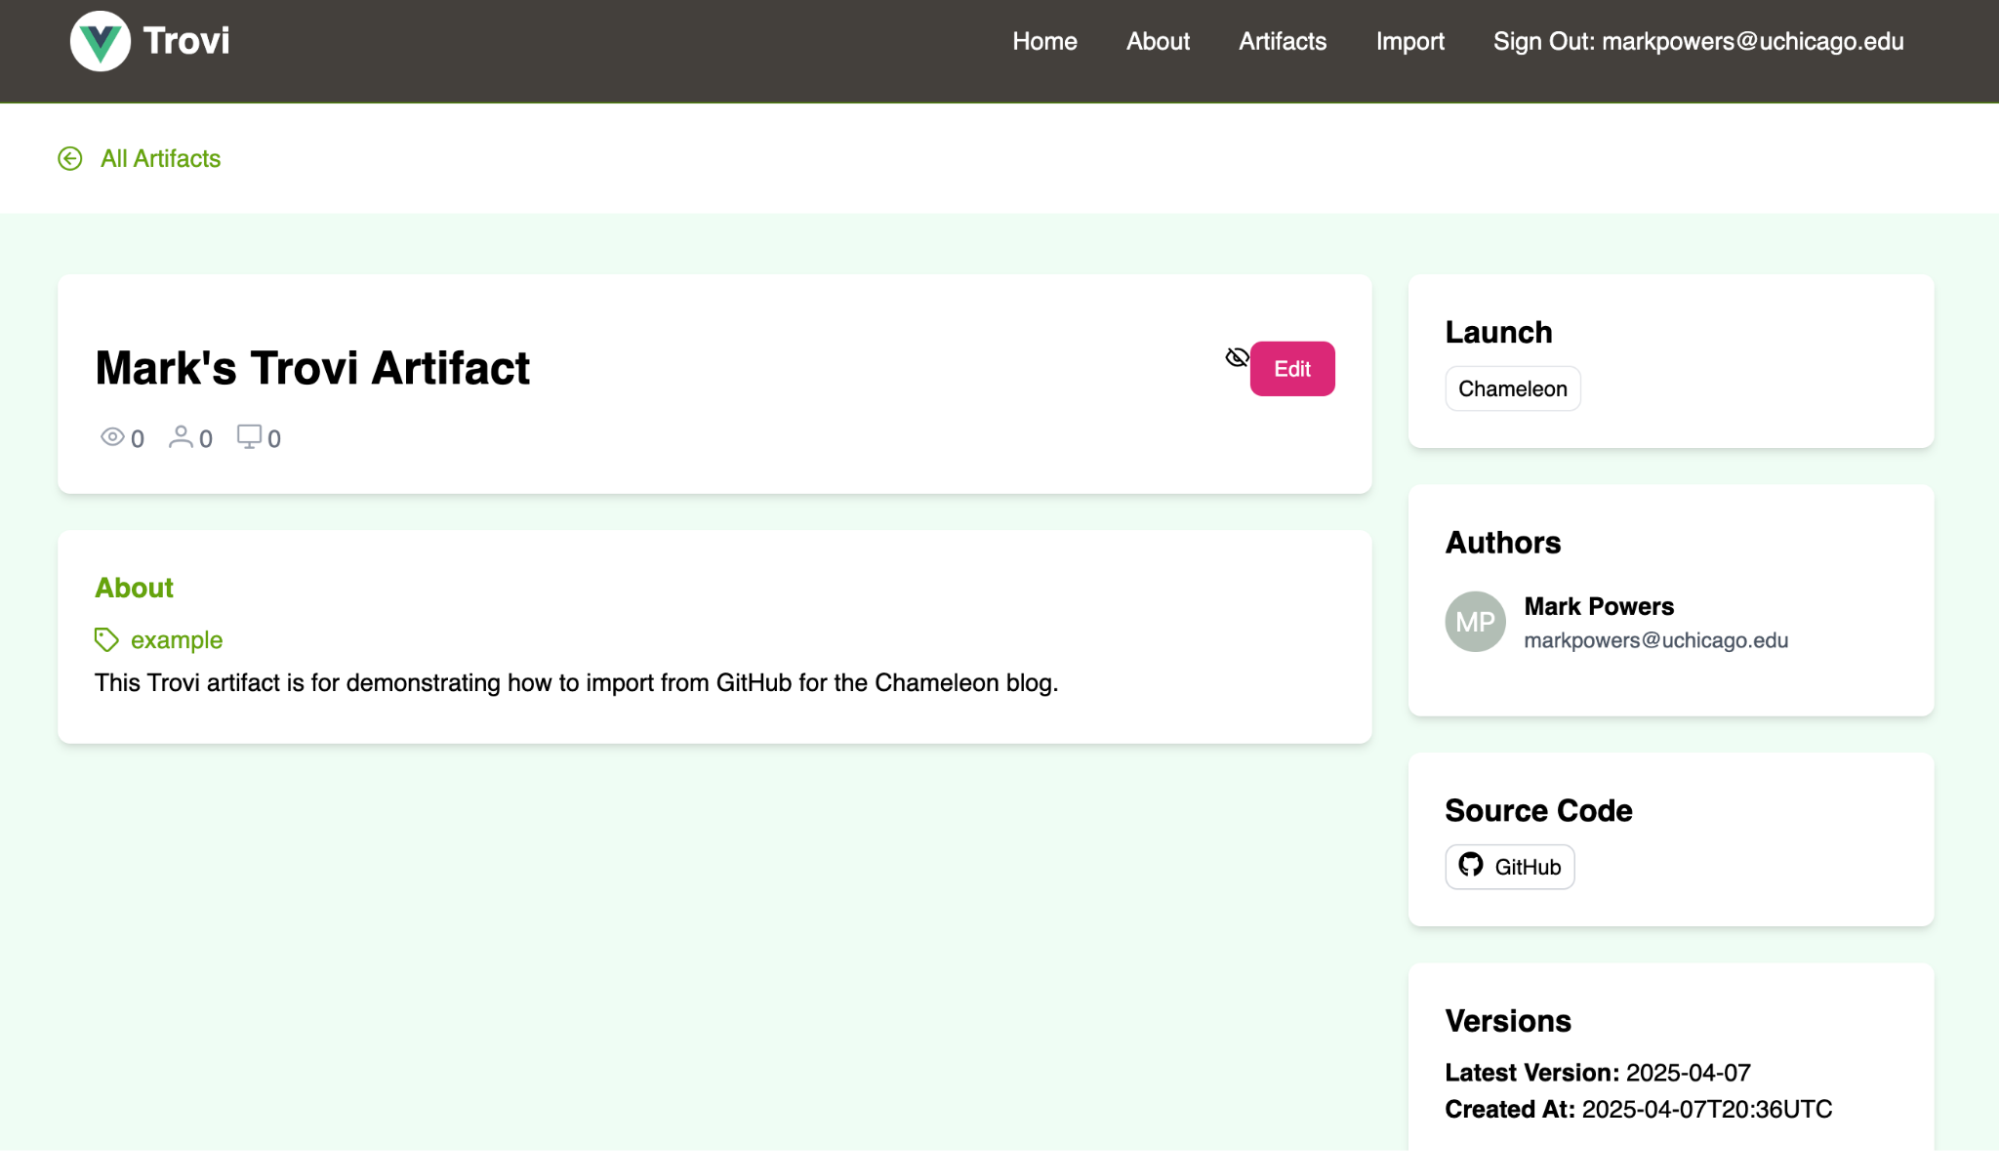
4. Submitting Your Repository to Trovi
The final step is to import your GitHub repository into Trovi:
- Navigate to the Trovi dashboard and click "Import" at the top.
- If you're not already logged in, you'll need to log in with your Chameleon account.
- Paste your GitHub repository URL into the form and click "Add Artifact."
You should now see your artifact with all its metadata loaded into Trovi. By default, artifacts are imported as private. If you're satisfied with everything and want to make it publicly available, click "Edit" and change the visibility setting to "Public."
5. Keeping Your Artifact Updated
When you make changes to your experiment and commit them to GitHub, you can easily update your Trovi artifact:
- Go to the "Edit" page for your artifact in Trovi
- Click "Import" at the bottom of the page to pull in the latest changes from GitHub
This simple workflow ensures your Trovi artifact always reflects the current state of your GitHub repository.
Conclusion
The enhanced GitHub integration in the Trovi dashboard represents a significant step toward making experiment reproducibility more accessible for researchers. By streamlining the process of importing and updating artifacts from GitHub repositories, we've addressed a key workflow need expressed by our users.
These changes are just the beginning of our plans to expand Trovi beyond JupyterLab experiments and potentially to other testbed environments. The use of standards like RO-crate ensures that Trovi remains an adaptable, portable solution for experiment reproducibility across various research infrastructures. In future updates, we'll continue refining this workflow and introducing new features to the Trovi dashboard based on your feedback.
We encourage you to try out this new GitHub integration feature and let us know about your experience. Your input is invaluable as we work to make Trovi an even more powerful tool for computer science research.
FABRIC: Updated Trovi Example for using FABRIC with Chameleon
- May 22, 2023 by
- Paul Ruth
Our friends at FABRIC have recently updated their FABRIC/Chameleon Trovi artifact. It's full of interesting examples to check out.
Storage Research Experiment Patterns on Chameleon Cloud and Trovi
- April 18, 2023
Today, two UChicago students share with us their thoughts on how to create reproducible experiments in a cost effective manner. Ray Sinurat and Yuyang (Roy) Huang talk about the experiment patterns for storage experiments they created and describe how they can serve as a basis for developing storage experiments. Best of all – they share the experiment patterns with the Chameleon community – we hope you will find them useful!
Sharing Experiments with Trovi
- May 31, 2022 by
- Mark Powers
Learn more about Trovi, Chameleon's experiment repository, and how you can use it to collaborate on experiments and share your work. The blog also covers Trovi's integrations with Zenodo and GitHub, creating a more seamless process for running your experiment - from production to publication.
No comments